SSL Certificates for Proxmox through Cloudflare

When accessing the Proxmox web interface, by default you'll get a warning about the SSL certificate not being valid. If you have a domain in Cloudflare then you can use their API with the help of Lets Encrypt to generate a valid certificate.
Cloudflare
To get started, login to the Cloudflare Dashboard to generate an API token.
Login and go to My Profile by clicking on your profile picture in the top-right corner then choosing My Profile.
Choose API Tokens on the left hand side then choose Create Token.
Under API token templates, choose 'Edit zone DNS' - this will give Certbot permission to make a temporary DNS record to validate your domain ownership.
In the next window titled Create Token, you can choose to give your token a name and specify the domain that you want to generate a certificate for. If you have a static public IP where your Proxmox server resides then you can put this into the Client IP Address Filtering box. If you're not sure then just leave this as the default which is nothing.
Once all filled in, it should look similar to this...

Now choose Continue to Summary, then Create Token.
Your new API token should then be shown on screen, keep this somewhere safe for later.
Proxmox
Login to your Proxmox web GUI and go to Datacenter -> ACME
Then click Add under the Accounts section
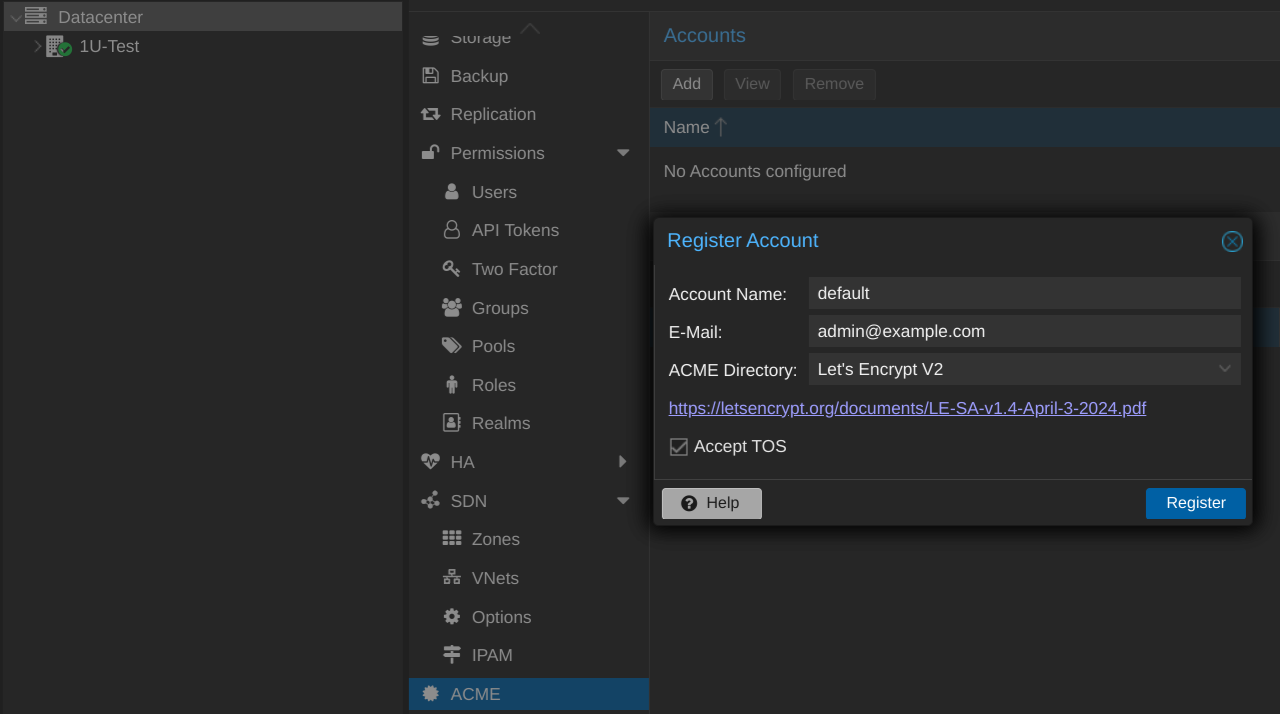
Fill this out similar to the above obviously entering your own email address and click Register
Once you see TASK OK close the little status window and continue with the instructions
Click on Add under Challenge Plugins then fill this out similar to the below
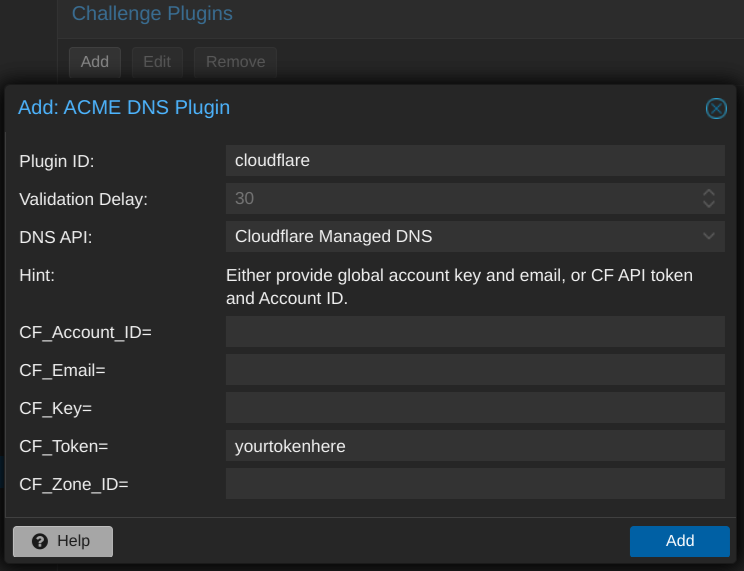
Replace yourtokenhere with the token you generated earlier in Cloudflare
Now go to your node on the far left, then choose Certificates. Then under ACME choose Add
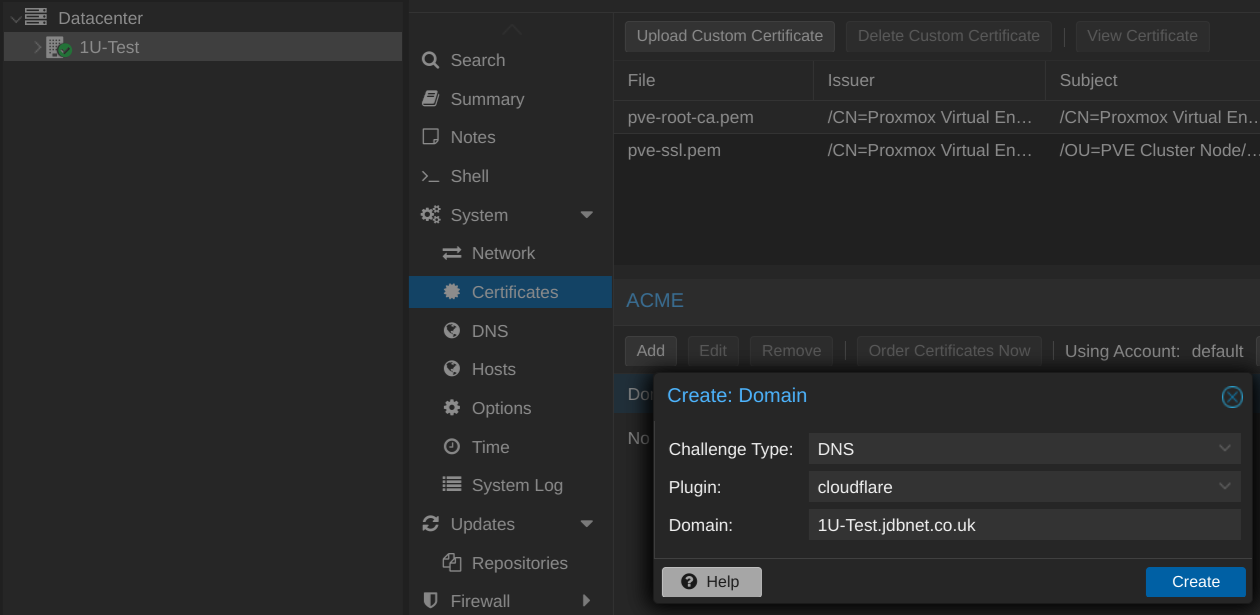
Fill this out similar to the above making sure to set the Domain line to the URL you'll be visiting in your browser once this is setup. The end of the domain or in my case where it says jdbnet.co.uk needs to match the domain you have in Cloudflare.
Once done, click Create then click Order Certificates Now.
After a minute or two you should see TASK OK.
Now you can create a local DNS record that points what you put in the Domain box previously to the IP address of your Proxmox server. For example I would create a record that points 1U-Test.jdbnet.co.uk to 192.168.1.2
If you don't have a local DNS server, you could create this in the hosts file on your computer instead.
That's it, you should now have a valid SSL certificate in Proxmox.