Install Windows 11 on an Unsupported System

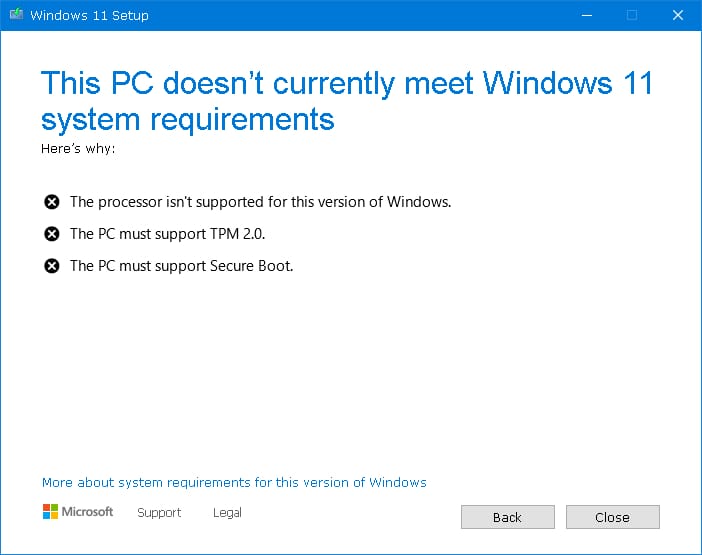
Begin a fresh Windows 11 install until you reach the error screen that displays “This PC can’t run Windows 11.”
Press Shift + F10 to open the command line
Type regedit.exe and press Enter
Navigate to HKEY_LOCAL_MACHINE\SYSTEM\Setup
Right-click the Setup folder. From the options on the list, select New and click Key from the expanded list. Name this new key LabConfig
Navigate to the LabConfig folder in the registry and open it. In the right pane of the window, right-click and create a new DWORD (32-bit) value.
Name this new DWORD as BypassTPMCheck. You can also add BypassRAMCheck and BypassSecureBootCheck DWORDs to bypass all Windows 11 requirements
Set the values of all these new DWORDs to 1.
Exit the registry editor and go back a step in the installation then proceed as normal.


